 |
The Completed Chest
|
One of the recent pieces to come through the shop was a Beidermeier chest of drawers. The chest was made of Elm and Pine and was veneered with bookmatched Elm veneer. Judging by the style of lock used and case construction methods used, I dated this piece to around 1830, however it could be a little earlier or later. The chest has many issues when it came into the shop.The chest had loose and missing veneer across the entire case as well as many other structural repairs one would expect to see on a piece of this age. In addition, the finish was very worn and close examination revealed that there were orbital sanding marks in the wood left by a electric random orbital sander, indicating that the finish was not original. With this in mind the finish was removed and the entire case sanded after the repairs were made to remove the orbits. Below are a few photos of the chest as it came into the shop.

The photo below shows a large section of loose and missing veneer on the top. This was later lifted, cleaned, reglued, and patched where the veneer was missing.
This photo shows the top when it first came to the shop. The area photographed above can be seen on the right side of this photo.
The front skirt of the chest was a solid em board that was applied to the front of the case. The feet, which were originally supported by glue blocks, were broken off. Fortunately the customer had the feet.
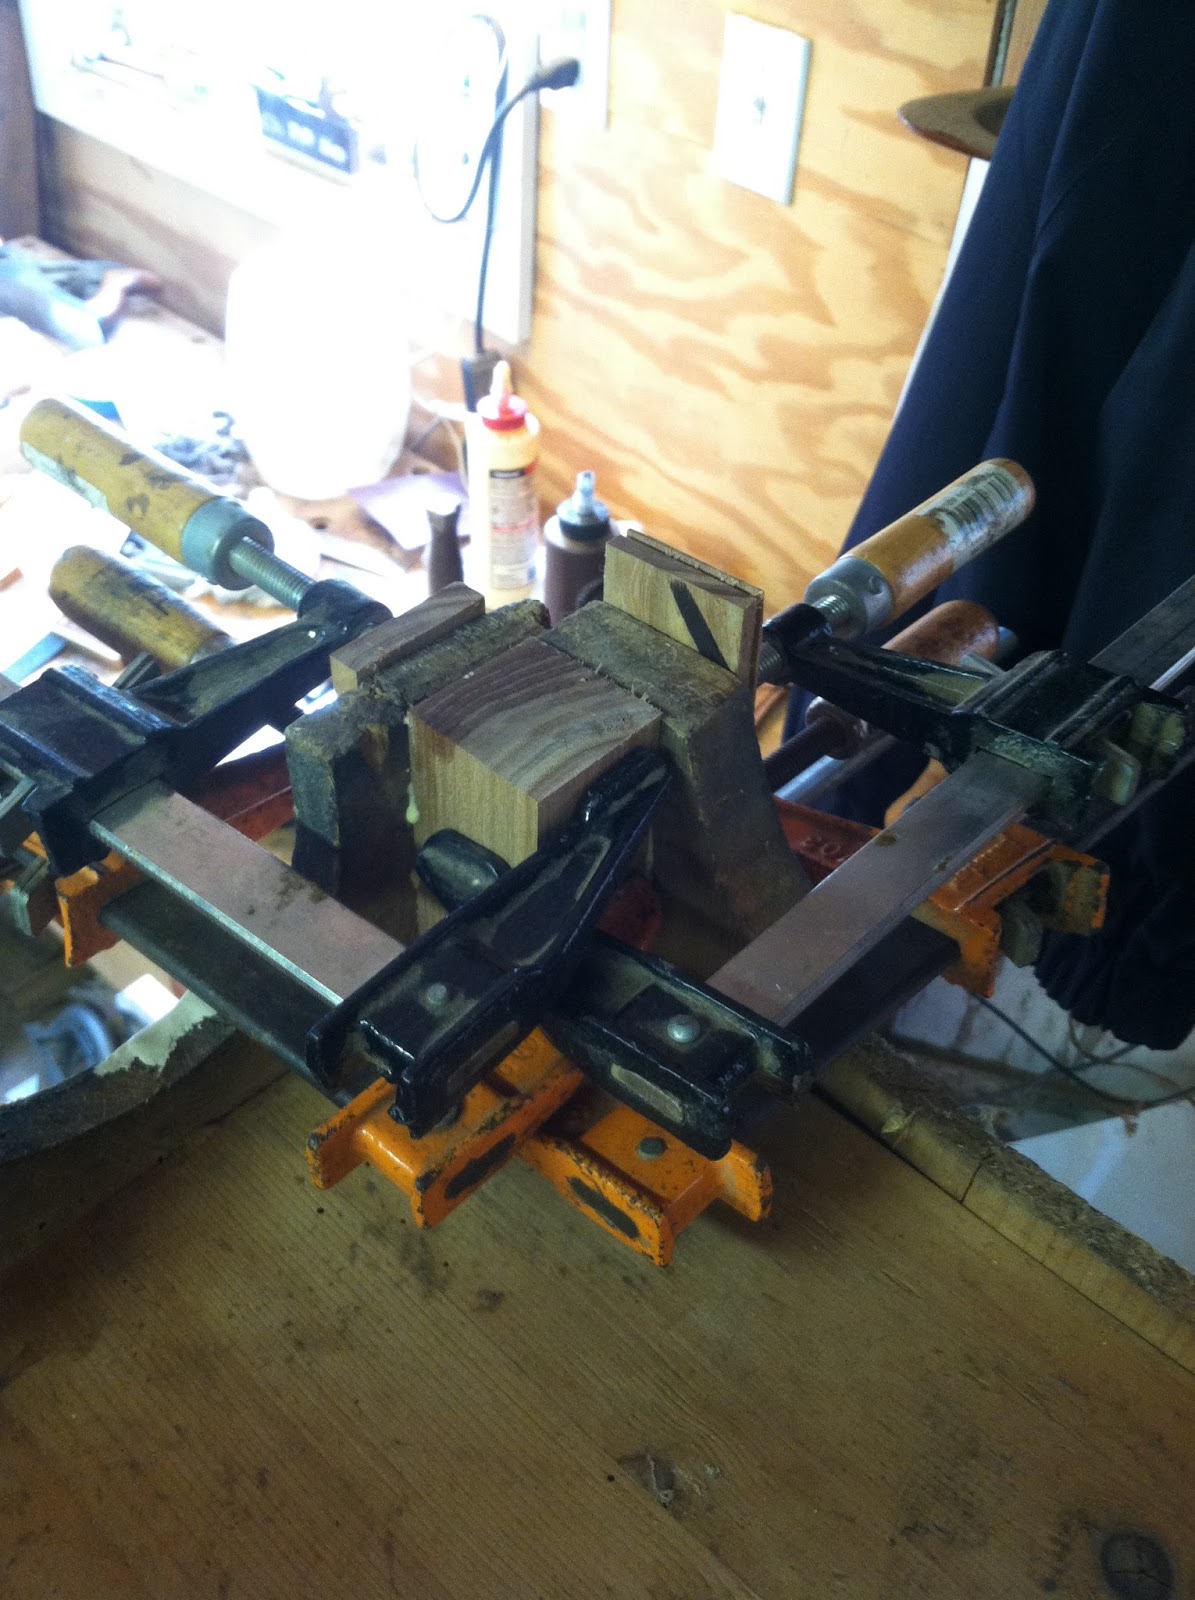
This next photo shows one of the broken feet being attached to the case.
The drawers showed significant wear on the bottom edges of the sides from rubbing on the interior drawer runners. The worn wood was removed and patched with new pine. The two following photos show the new wood being glued in place.
A variety of clamping operations can be seen in this photo. On the top, patches are being glued in place. Inside the case a clamp can be seen holding several lengths of 2x4 lumber against an interior runner that was being glued in place. Also visible in this photo on the left side of the case is a long wedge driven into a gap between two boards. This wedge was glued in place and pared down flush with the side of the case once the glue had dried. The gap had occurred due to shrinkage between the two boards over time.
The entire bottom of the case was missing the corner blocks which act as feet. The blocks are visible in the front so Elm was used. Below is a photo of the block being glued in place. It was later carved to match the rounded profile of the case.
After the block was glued the broken section of the foot was re attached, as seen in the photo below.
Above the feet on the front of the case were two rounded elm appliques that were decorative in nature. One was missing entirely and the other disintegrated while being patched. Both were replaced with Elm as seen in the photos below.
The next three photos show the rear corner blocks being glued in place. The last photo also shows several other clamping operations.
This photo shows the case repaired and sanded.
These last photos show the chest completed with a French Polish. The replacement escutcheons were provided by Nancy Anderson at Londonderry Brasses (
http://www.londonderry-brasses.com ). They really fit the style of the chest well. Thanks also to Jesse Melton, who completed most of the work on this piece. Good job Jesse!


No comments:
Post a Comment