Welcome to my blog which follows my furniture restoration business. Please feel free to comment at the bottom of the post, and if you would like a response please leave your email address. you can also contact me directly at info@johnmarkpower.com. And by all means, if you like something please feel free to share it.
Showing posts with label Pine. Show all posts

Wednesday, September 25, 2013

Lenzkirch Wall Clock (ca. 1878)

The Completed Clock

A piece I recently worked on was a German Wall Clock made by the Lenzkirch Clock Company ca. 1878. The clock had several markings on the movement which shed light on to the age of the clock. The first marking found said "D.R.P. May 21 1878". D.R.P. is short for Deutsches Reichspatent which is a German patent prior to May 1945. With this in mind the earliest possible date of manufacture of this clock would be after the patent date.

Below this marking were stamped the numbers 8160. This is a model number for the movement and not a serial number. According to a website on Lenzkirch clocks, the serial numbers were around  627,912 by this time. A little research showed that this model was a spring wound wall clock with an asymmetrical arbor. The asymmetrical arbor was probably an attempt to maintain the torque on the mainspring, allowing the clock to keep a more constant time. 

The other stamp on the clock was the name Lenzkirch and the letters A.U.G. . The initials stood for  Aktien (Stockholder), Uhrenfabrikation (Clock Factory), and Gesellschaft (Corporation). All of this show that the movement was made by the Lenzkirch factory in the late 19th century. 

The case for the clock was made of pine. The outer ring of the clock was made of Elm and had a brass bezel ring which surrounded the flat bezel. The clock face itself was painted on metal and had roman numerals indicating the hours. The hands were steel moon style hands.

After all of this information was gathered, I set about my task of restoring this clock. In addition, I was asked to replace the movement with a modern quartz movement so that the clock would keep good time and would not have to be wound. The clock hung high on the customer's kitchen wall so winding it was a chore. 

I had no problem with doing this because I was able to replace the movement without permanently altering the clock. I did this by first removing the movement and then replacing it with a wood block that the quartz movement would attach to. The face would then attach to the new movement. I was even able to find moon style replacement hands for the new movement (nice, but not as nice as the originals!). The procedure of switching the movements was relatively straightforward and allowed for the clock to be admired as well as used. I then cleaned the glass and the case of the clock and returned it and the movement to the owner. Below are some photos prior to the case being cleaned followed by some photos of the movement and the completed clock.

This photo shows the clock as it came to me.
The original movement and the chime removed from the clock.
The next two photos show the stamps on the clock movement.

This block was used to attach the new movement and position the face in the right place.
The completed clock with the new moon style hands.

Here is a link to a website on the Lenzkirch Clock Company: http://www.lenzkirchclocks.com/

The company closed its doors in 1933.

Tuesday, September 17, 2013

Biedermeier Three Drawer Chest (Ca.1830)

The Completed Chest

One of the recent pieces to come through the shop was a Beidermeier chest of drawers. The chest was made of Elm and Pine and was veneered with bookmatched Elm veneer. Judging by the style of lock used and case construction methods used, I dated this piece to around 1830, however it could be a little earlier or later. The chest has many issues when it came into the shop.The chest had loose and missing veneer across the entire case as well as many other structural repairs one would expect to see on a piece of this age. In addition, the finish was very worn and close examination revealed that there were orbital sanding marks in the wood left by a electric random orbital sander, indicating that the finish was not original. With this in mind the finish was removed and the entire case sanded after the repairs were made to remove the orbits. Below are a few photos of the chest as it came into the shop.

The photo below shows a large section of loose and missing veneer on the top. This was later lifted, cleaned, reglued, and patched where the veneer was missing.
This photo shows the top when it first came to the shop. The area photographed above can be seen on the right side of this photo.
The front skirt of the chest was a solid em board that was applied to the front of the case. The feet, which were originally supported by glue blocks, were broken off. Fortunately the customer had the feet.


This next photo shows one of the broken feet being attached to the case.

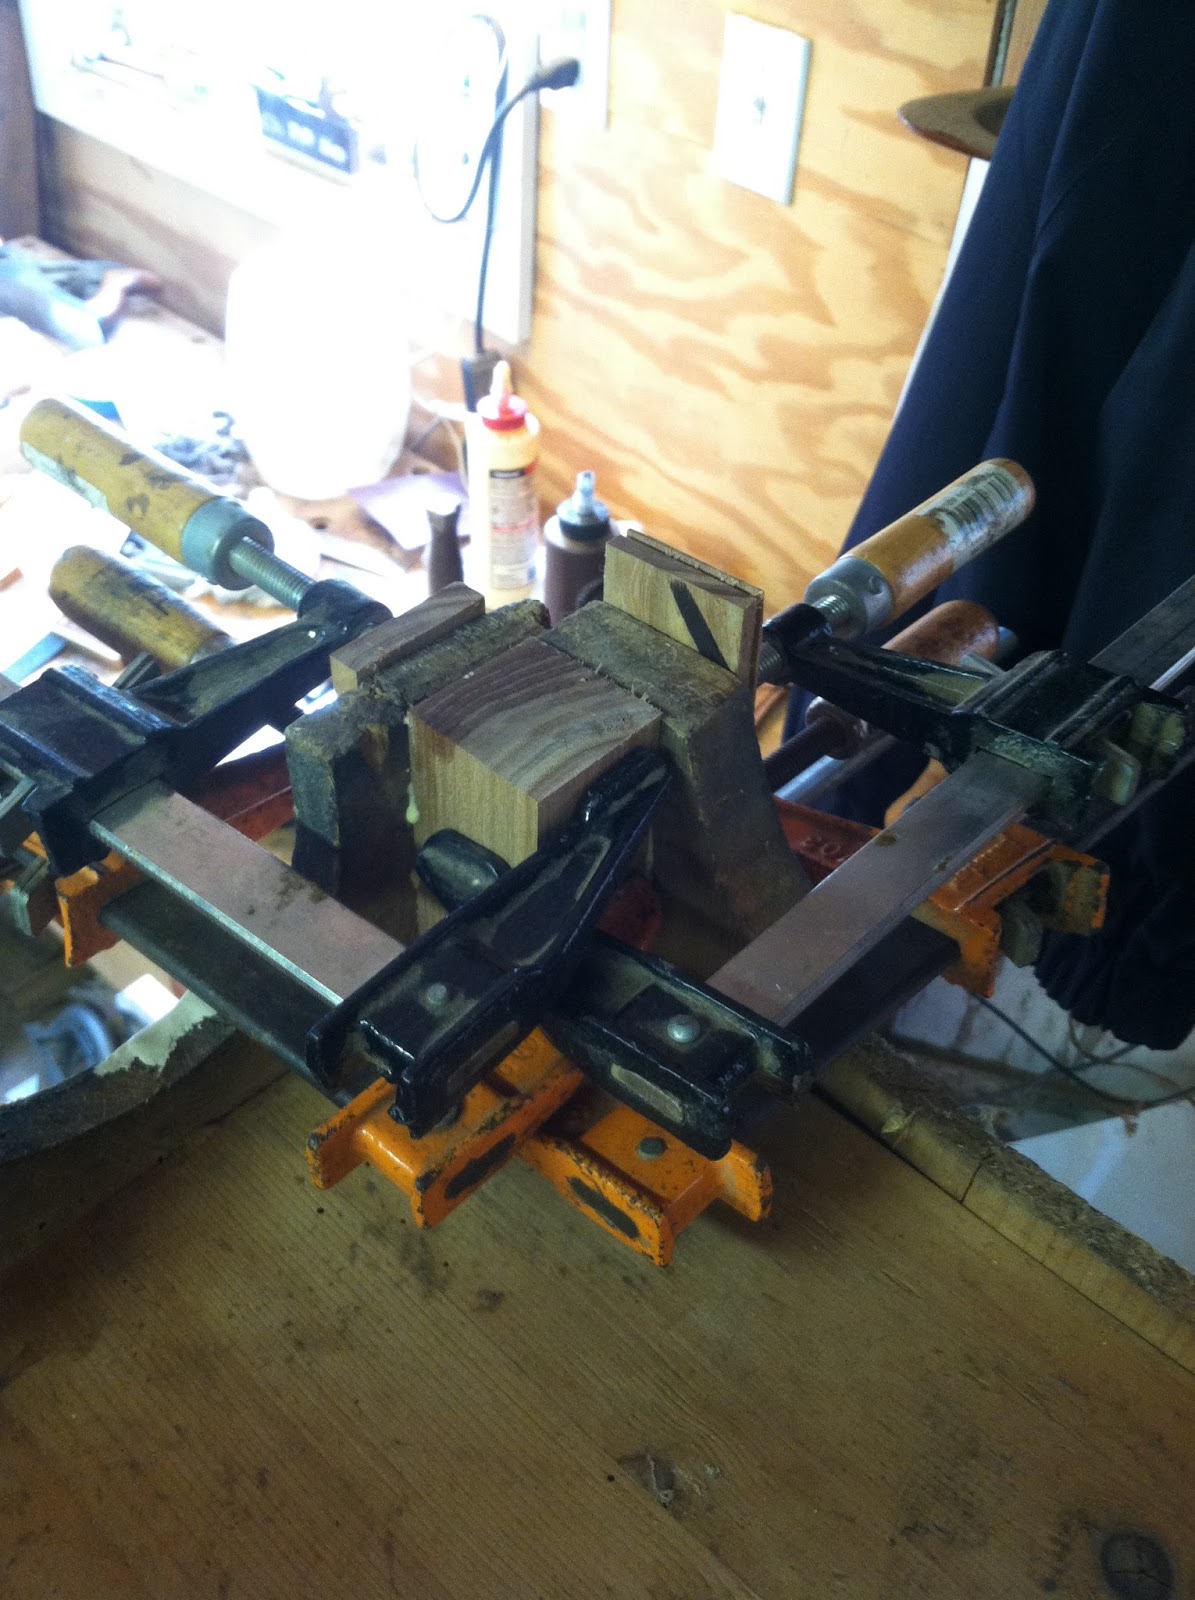
The drawers showed significant wear on the bottom edges of the sides from rubbing on the interior drawer runners. The worn wood was removed and patched with new pine. The two following photos show the new wood being glued in place.

A variety of clamping operations can be seen in this photo. On the top, patches are being glued in place. Inside the case a clamp can be seen holding several lengths of 2x4 lumber against an interior runner that was being glued in place. Also visible in this photo on the left side of the case is a long wedge driven into a gap between two boards. This wedge was glued in place and pared down flush with the side of the case once the glue had dried. The gap had occurred due to shrinkage between the two boards over time.
The entire bottom of the case was missing the corner blocks which act as feet. The blocks are visible in the front so Elm was used. Below is a photo of the block being glued in place. It was later carved to match the rounded profile of the case.
After the block was glued the broken section of the foot was re attached, as seen in the photo below.
Above the feet on the front of the case were two rounded elm appliques that were decorative in nature. One was missing entirely and the other disintegrated while being patched. Both were replaced with Elm as seen in the photos below.


The next three photos show the rear corner blocks being glued in place. The last photo also shows several other clamping operations.


This photo shows the case repaired and sanded.
These last photos show the chest completed with a French Polish. The replacement escutcheons were provided by Nancy Anderson at Londonderry Brasses (http://www.londonderry-brasses.com ). They really fit the style of the chest well. Thanks also to Jesse Melton, who completed most of the work on this piece. Good job Jesse!


Thursday, June 30, 2011

New Haven No. 1 Movement Walnut Regulator Clock (ca. 1885)

Recently , I received a regulator clock made by the New Haven Clock Company.To read a little about the history of the New Haven Clock Company, you can follow this link:Link
http://www.clockguy.com/SiteRelated/SiteReferencePages/NewHavenClockCoHistory.html

Judging by the overall style of the clock I dated it to be from around 1885. The clock has a Pine case with a Walnut turned frame surrounding the clock face. The Pine portions of the clock had been stained to match the natural color of the Walnut frame.It was evident that the clock had been refinished at some point in the past, and that the existing finish on the clock could be restored. the following photos show the restoration of the finish as well as the repairs made to the clock.

Here is a photo of the clock as it came to me.
On the inside of the lower door which houses the pendulum, I found this label on the reverse side of the glass.
To work on the case of the clock, I needed to remove the face of the clock as well as the works. This gave me the opportunity to take a photo of the works which were in very good condition.
Most of the repairs were made to the turned Walnut frame. this was made up out of six individual pieces of Walnut which were assembled using several lap joints. Once the pieces were fit together, they were turned on a lathe together to produce the molded frame. Several of these lap joints had become unglued over time and were loose. The photos below show the joinery being glued on the frame.

After the repairs were made, the case was cleaned and new finish was applied to the old, bringing out the natural beauty of the wood. Meanwhile, all of the brass parts (excluding the movement) were cleaned. After the case was waxed, the entire clock was reassembled. Below are two photos of the clock during the application of the new finish. These are followed by several photos of the clock after it was completed. The last three photos were taken using the Retrocamera setting on my phone and seemed to be very appropriate for the clock. As for the clock itself, I started the pendulum when I was finished and it seems to keep pretty good time!


Thursday, April 8, 2010

Repairing an Old Pine Chest Of Drawers (ca. 1840-1860) Part 1

The old pine chest pictured below dates to somewhere between the years 1840-1860. The top of the chest is marble which I left with the customer. The construction is all done by hand and the chest is made almost exclusively of pine. The presence of Poplar as drawer sides and backs indicate that this was a piece built in the south, due to the fact that Poplar grows in abundance south of Pennsylvania. The glass knobs are most likely replacements and the finish is a mixture of old paint and shellac. This piece has had several coats of paint on it which have been removed over time. The customer and I decided to leave the finish as is but to repair the abrasion around where the knobs only.

The real problem with this piece is that the drawer runner system has become unusable. The runners on the sides of the drawers have been worn down and in some cases broken entirely. The interior runners have deep gouges where the drawer has had contact and are in some cases incomplete and all were held on solely by the cut nails. The glue had completely given way.Below is a photo of the chest and following are the repairs to the runner system.Here is a photo of an interior runner on the right side of the chest. It's job is to support the drawer and guide it into place. If you look at the end of flat board you can see the unevenness. that should be flat. this has been created by years of the drawer sliding in and out on top of the board. Here is a picture of all of the interior runners removed.Here is another shot of the damage. If you look at the right side of the board you can see how much it has been gouged out.I like to save as much original material as possible in the restoration process. some people would simply discard the old interior runners and build new ones. I chose instead to cut away only the damaged area and to replace it with oxidized pine that is glued in place of the damaged area. Below is a photo of one of the runners with the damaged area removed and the board used for replacement on the left.After I ripped the new board on the table saw the two were joined. Here they are before joining.Here is a photo of all six interior runners being repaired.Below are two photos of the sides of the drawers. you can see the damage to the lower sections (also called runners). In the first photo, The Runner is broken and in the second there is a section missing. Two of the three drawers needed to be dismantled to properly fix these drawers.
The problem area was removed by ripping the board on the table saw, creating a flat surface to glue the new runner to. Here are the four drawer sides, each getting new runners attached to the bottoms.A close up of the installation of a new runner.