 The table was made by hand and originally was made to accommodate six 12 inch leaves. Three of the leaves had disappeared over the years and the table slides had warped and gotten stuck so that the table could not be properly opened and closed. Besides these problems, the finish had deteriorated and there were many cracks and damage that are associated with the use of the table. One other problem was that the table surface on one end had warped badly. The photos below document the entire restoration of this table including the repairs.
Here is a photo of the table as it came to me. I could not close the table any further than it is closed in this photo due to the table slides being warped.
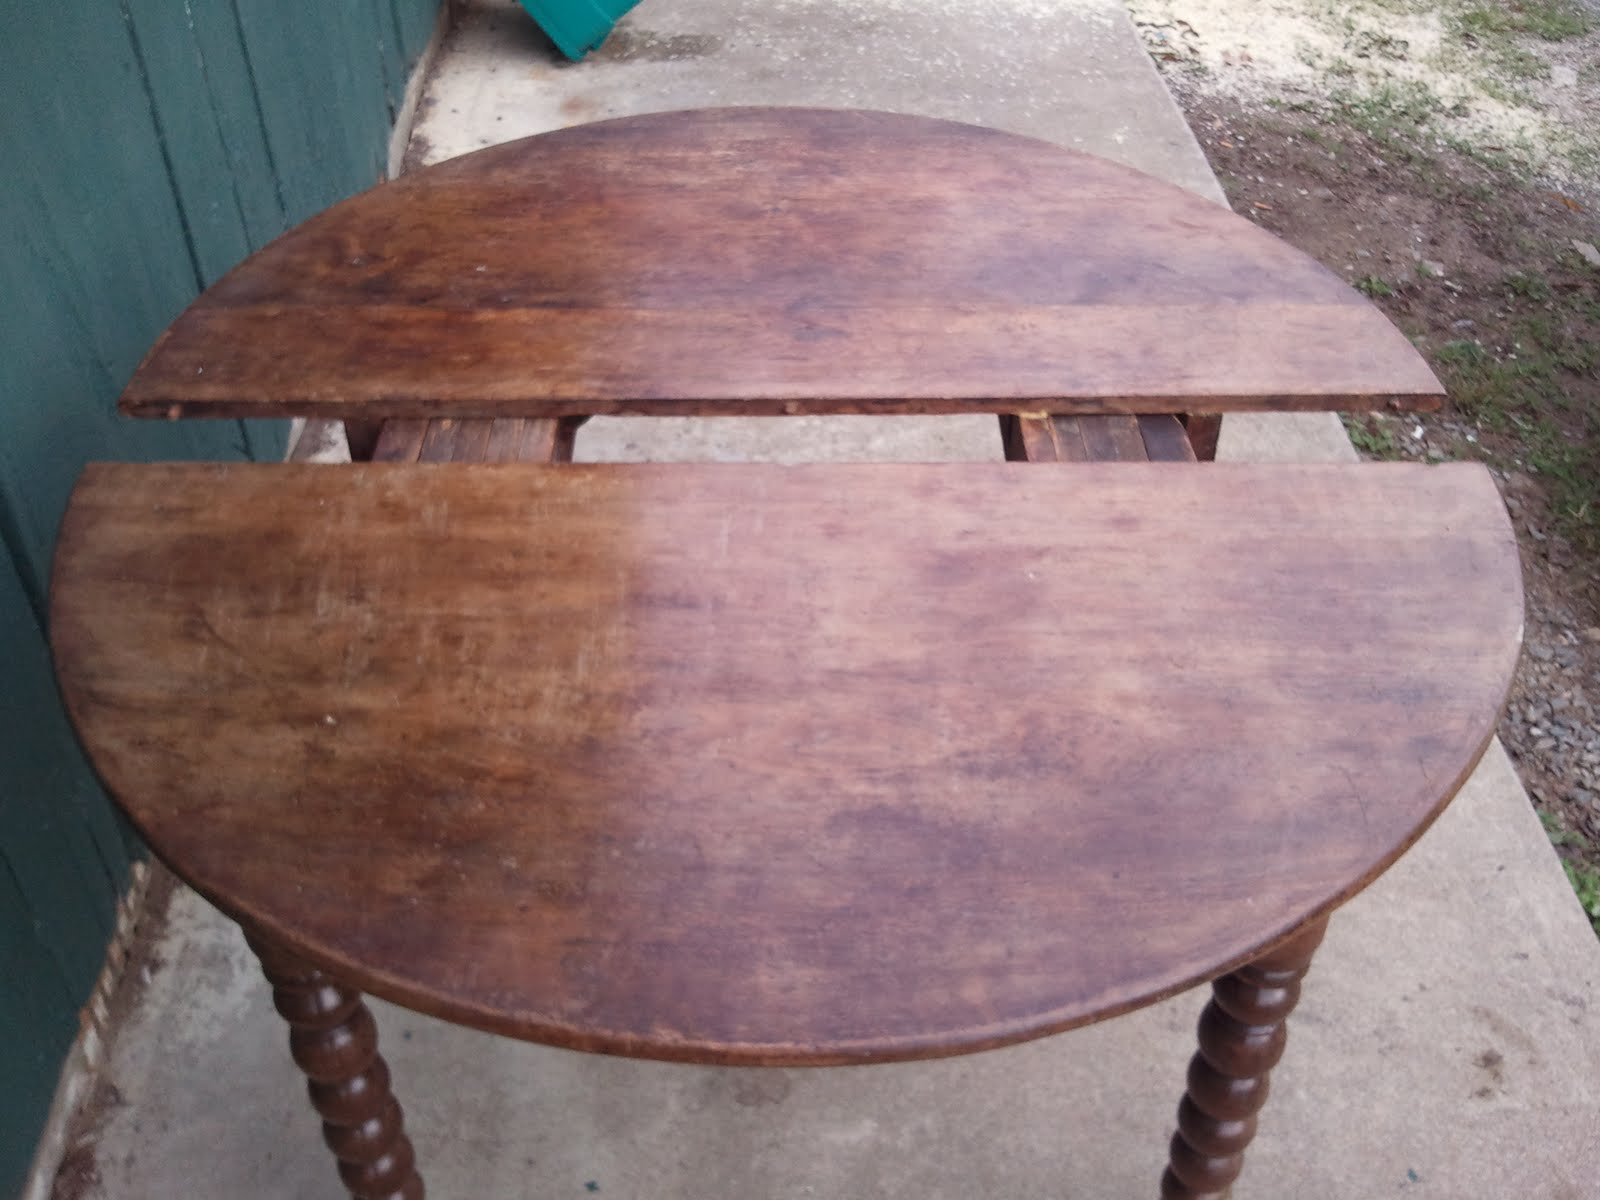 This photo shows the condition of the finish. The finish had bleached due to being in direct sunlight for many years and it had also started to crack and flake off, especially on the legs.
 The first thing I addressed once I had the table dismantled was the table slides. They were made of American Chestnut and had warped and gotten stuck so that they no longer worked properly. I was on the edge of swapping them with a new set, but with a little planing and a lot of paraffin wax I was able to get them working reasonably well.
The next step was to remove the finish. This was followed by all of the repairs. The first repair I worked on was to remove the warp from the top surface of the table. The photo below shows the table surface with a straight board placed on it on edge to show how far from being flat the top was. The difference in the center was about 1/4".
 To remedy this, I cut several kerfs on the underside of the table about two thirds of the way through the top. This allowed the top to become flexible and I could clamp it flat. Once it was clamped flat, I inserted long tapered wedges in the kerfs with glue and tapped them into place.Once the glue dried the kerfs were planed flush with the surface. The following photo shows all of the tapered wedges. I cut them on the table saw with the blade set at a 5 degree angle.
 This photo shows the top with the kerfs cut. Once all of this material was removed, the board warped a little more since there was nothing holding it back.
 The board was then clamped to the table saw using two by four's as Cauls to hold the top flat. After the board was flat, the wedges were trimmed and tapped into place. This photo was taken after the wedges were inserted and the glue was drying.
 The next photo shows the board after the wedges were hand planed flush.
 The base of one end of the table was loose and needed to be glued. I did this as usual. One thing I found that I thought was nice and also a sign of craftsmanship was a double mortise/ tenon system. This is done because in certain cases,like a table leg, There is a lot of material removed from the leg to insert the tenon. If the leg is kicked hard or caught on the floor, there is a potential for the end of the leg to crack because it is only held together by about a a half inch of wood. The idea with the double tenon is to leave a little material in the middle of the mortise so that there is more material holding the end of the leg together. A bit of material is cut from the tenon making it two smaller tenons. Likewise two mortices are cut rather than one long one. This is an extra step,but it is worth it and shows a lot of forethought and skill coming from the cabinetmaker. One other point is that this joint increases the surface area for gluing which also makes for a stronger joint. Below is a photo of the double tenon.
 The base is dismantled in the photo below. In the ends of the legs you can see the two mortises.
 This photo shows the base being glued back together.
 The pin holes on the leaves were severely damaged from the pins being lifted straight up. The result was that the pins could be seen with the table closed. Below is a photo of one of the damaged pin holes.
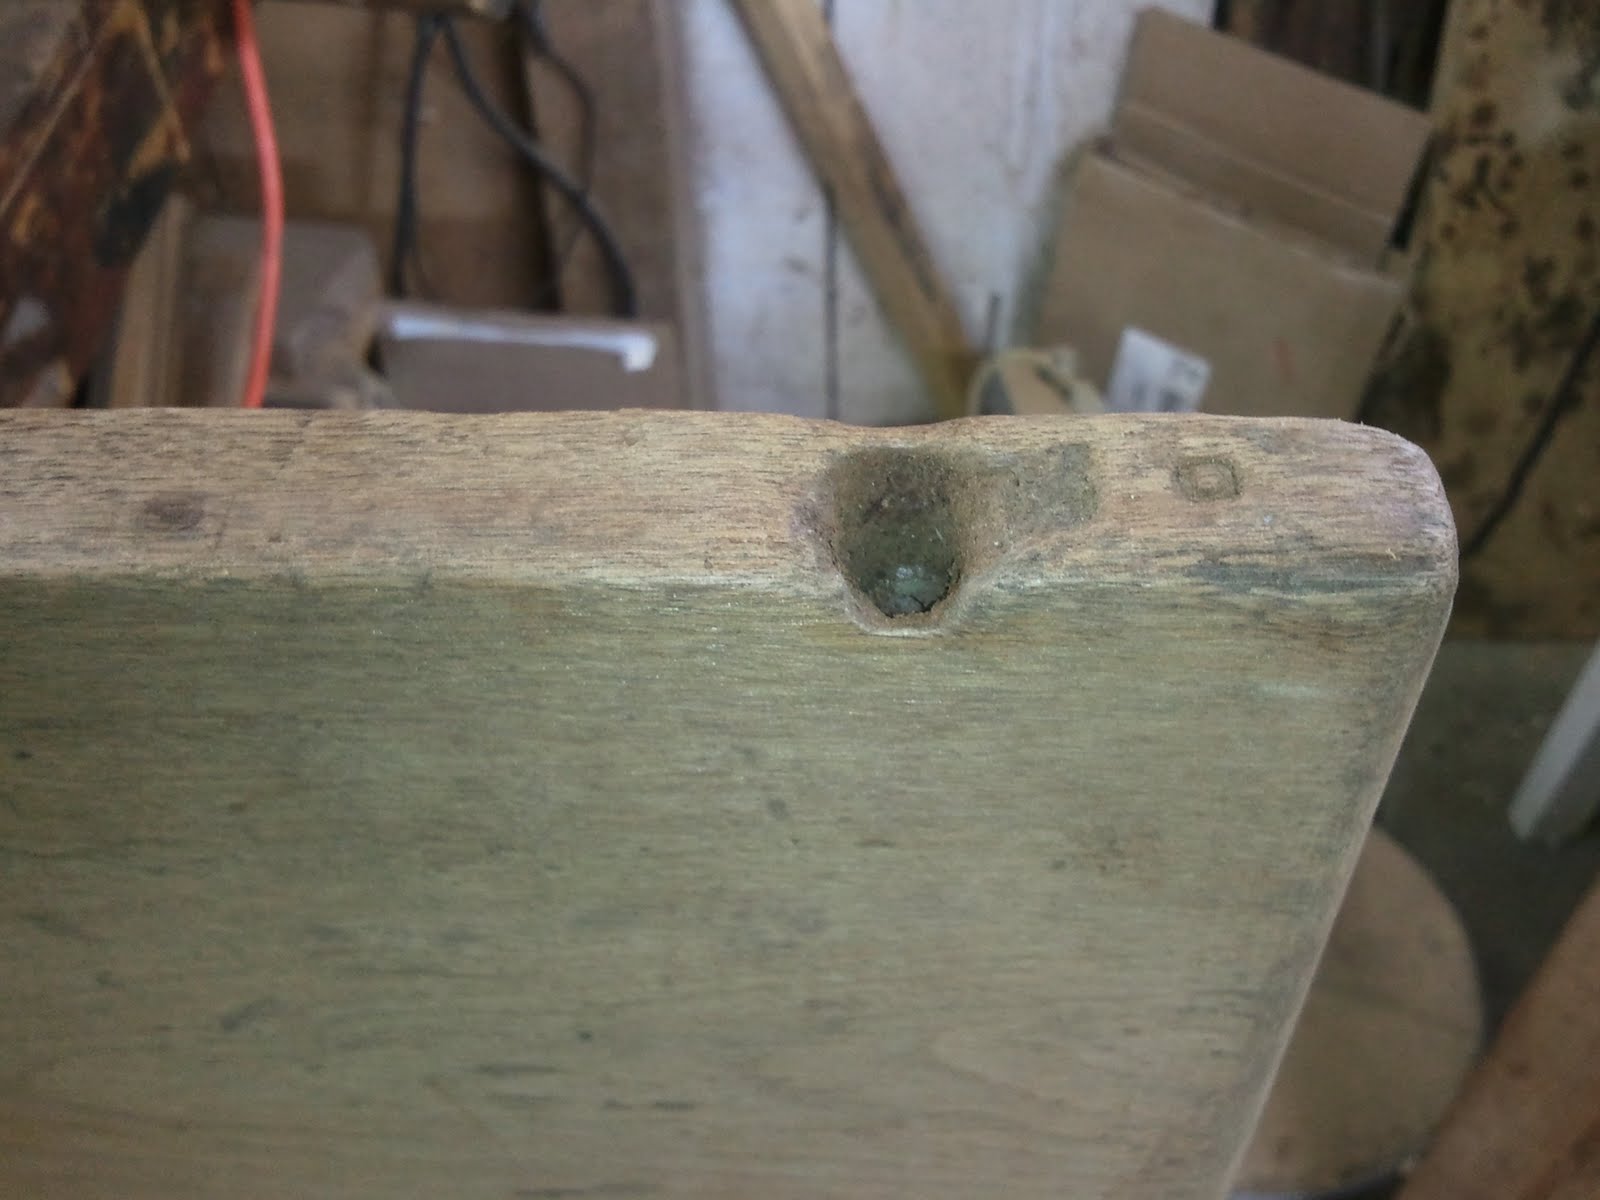 In trying to figure out a way to patch this, I came up with a new idea. Traditionally, I would have cut a trapezoid shaped patch and removed the damaged area. One thing I do not like about this is that it offers no support when the leaves are pulled straight up. My remedy for this was to make a jig that allowed me to drill out the damaged area from the side of the board with a Forstner bit. Once this was done the hole could be plugged with a patch turned on the lathe to the same size. The reason I did not just use a dowel to patch the hole is that the grain of the dowel would be running perpendicular to the table leaf. By turning the plugs, I could orient the grain so it went in the direction of the leaf.
The advantage of making this kind of a patch was that the sides of the circles tapered towards each other, locking the patch in place and offering some protection from the pins being pulled straight up as the leaves are removed.
The following photo show the jig I made for this procedure. The jig was made from a scrap two by four. a pilot hole was drilled in the edge side of the board for the bit and the board was mortised to fit over the edge of the leaf. the whole board was held in place by a clamp.
 The next step was to insert the bit into the hole and to drill out the damaged area. This can be seen in the photo below.
 This next photo shows the result. You may notice that the hole is a little off center. this was done intentionally so that the bit would remove the damaged area from the top surface of the leaf. When viewed from the top of the leaf, the final patch looks square.
 This next photo shows the patch inserted and being glued in place. I was able to turn several patches at once on the lathe so that the work went along a little quicker. The pacthes were easily cut from the turned stock to the amount that was necessary for each hole. I forgot to take a photo of the finished product, but after the glue had dried, the patched were trimmed flush with a chisel.
 There were two cracks in the table. One in a leaf and the other in the table surface that I had put all of the wedges in. I cut and inserted a butterfly patch into each so that they were secure. Below are some photos of this process.
Here is the butterfly patch on the underside if the table laid next to it's mortise. You can see how deep the wedges went into the table top in this photo.
 This photo shows the patch being glued in place. It is followed by a photo of the butterfly patch being glued in place on the leaf. Both were trimmed flush with a chisel after the glue had dried.

As I wrote earlier, the table was missing three leaves.The customer wanted new ones made and the photos below show that process. This first photo shows the over sized leaves milled and set in the table
 With each leaf, I pinned it into place before I cut them down to size. Here is one leaf being pinned.
 After all three were pinned, the leaves were cut down. Here they are in the table.
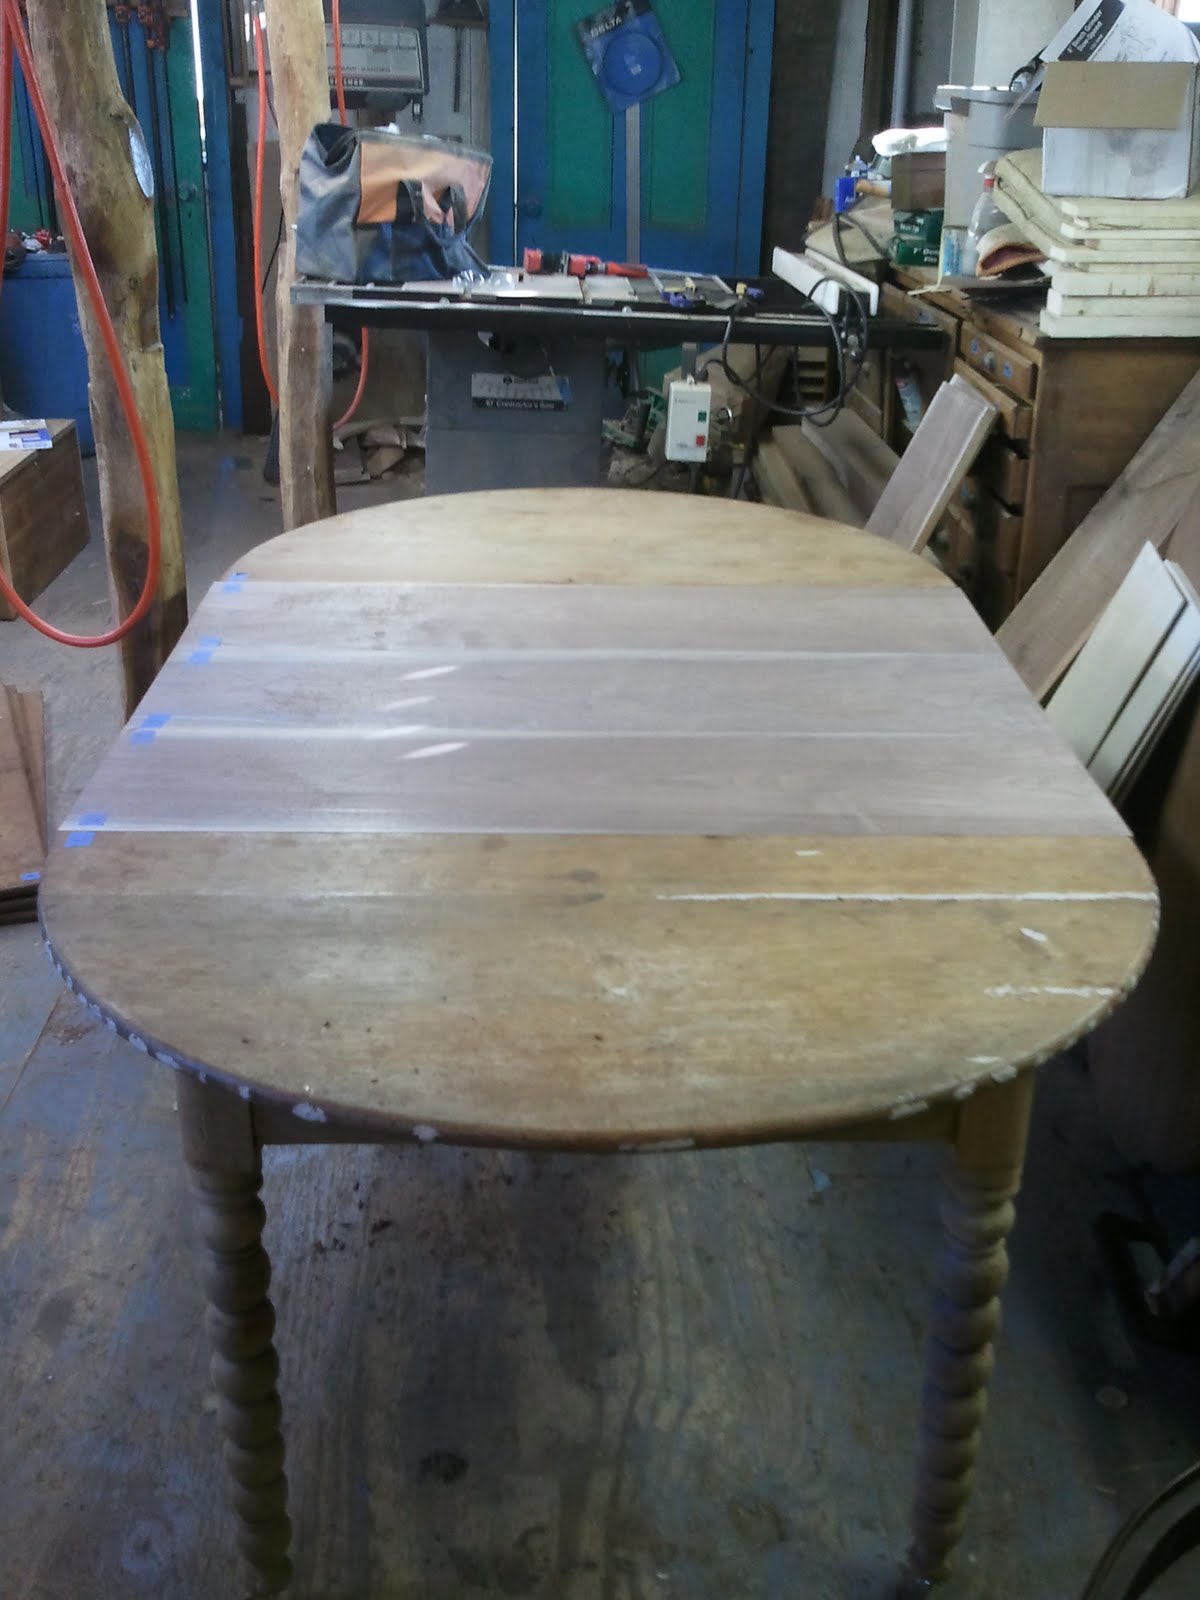 This photo shows the edge of the table leaves rough cut. The following photo shows the leaves after the edges were molded.
 The last step was to stain the leaves to match the top. here is a photo of the stained leaves waiting for finish.
 The next two photos show the table as the finish was being built up.
 These last photos show the table after it was completed. The first few photos are of the table closed up followed by several of the table with the leaves in place. It was quite a big table and will hopefully accommodate all of the Thanksgiving guests!


