 |
| The Completed Table |
A table we recently worked on in the shop was a mahogany drop leaf table made around 1770. I beileve that this table was made in England because of its form, which was a rather small version of a drop leaf that was used as an occasional table, in the same way in which a tilt top table was used. When needed, say for serving tea, the table could be carried to a location and set up, giving a good surface for three or four people. after the table served its purpose, the leaves could then be dropped, significantly reducing the floor space that the table took up. The table could then be set against a wall where the grain of the vertically hanging leaf could be admired.This is also important because mahogany furniture was seen in the 18th century as a status symbol, and the ability to display the wood was desirable.
The woods used in this table are fine West Indies mahogany as the primary wood, with pine and beech used a secondary woods. Mahogany would have been imported to England and America both, and beech and pine were both used as secondary woods in America and England. The reason that I think this table is English is that the form of this smaller drop leaf is seen much more in English Furniture than Colonial American. The Americans favored the tilt top as an occasional table And I have never seen an example of a small drop leaf like this made in America. That being said, that is all I have to go on and the woods used and joinery techniques offer no clues as to a place of manufacture. If the table could be identified as American the date of manufacture might be slightly later. As it stands, I call this table Georgian because it was made during the second half of the 18th century and while it displays a turned Queen Anne foot, the use of mahogany instead of walnut placed it at a latter date, placing it in the Georgian period of furniture history.
The table had a nice old finish on it that was restorable, and most of the problems lay in some structural failures that had occurred in its 200+ year history. One of the most noticeable was a failed hinge, which caused the leaf to hang crooked. I have detailed the repairs and restoration of the table in the photos below. They are followed by a few photos of the restored table.
These first few photos show the table as it came into the shop.
This detail photo shows the failed hinge, which caused the leaf to hang low.
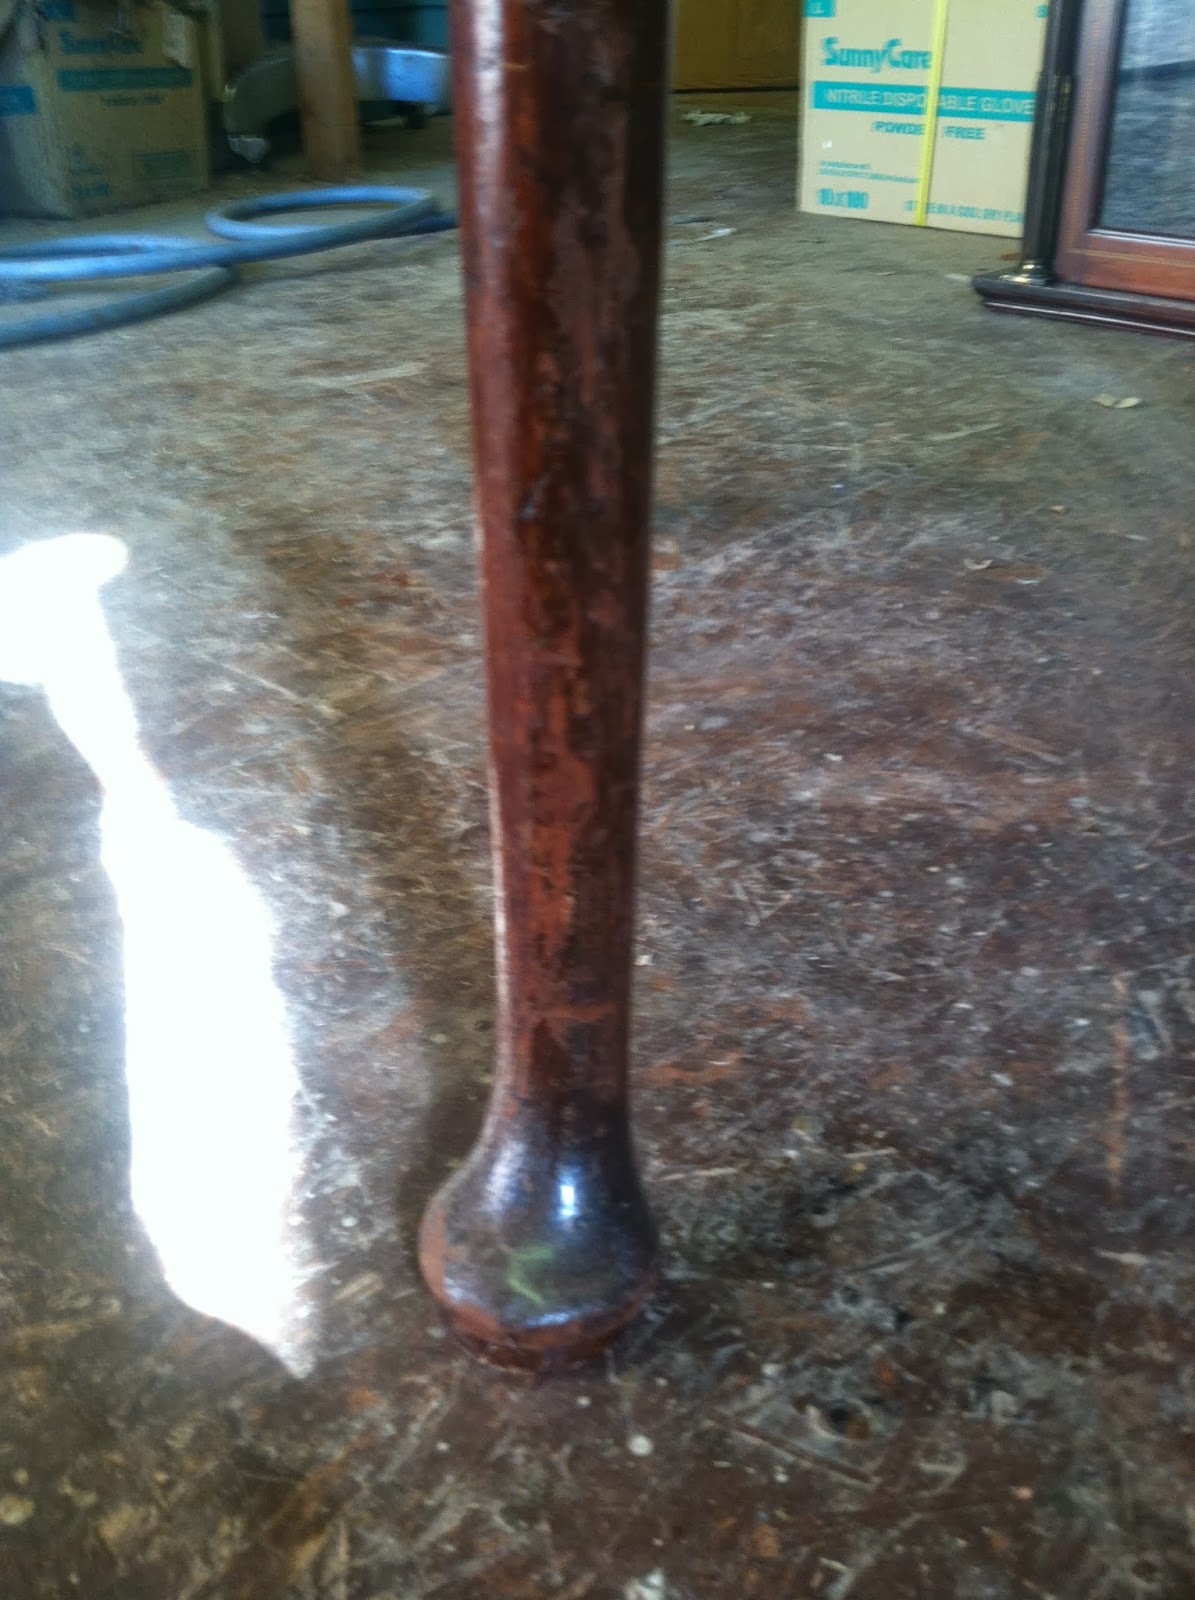
The legs of the table had suffered many dings and scratches over the years causing a loss of finish and lots of wear.
There were many areas where structural damage had occurred. The reversal of this damage was only done if the damage caused the table to function incorrectly. If the damage was superficial, it was left as a sign of the age and antiquity of the piece. The area seen below was repaired because it was where a screw fastened the base to the top, and leaving the damage would have caused the screw to not seat properly and firmly attach the top to the base.

The construction of the table is really interesting. The base started out as a box made of pine with mahogany ends. These ends were dovetailed into the pine much the same way a drawer front is dovetailed to a drawer side. The name for the type of dovetail is a half blind, meaning that the dovetails are concealed when viewed from the front (the mahogany ends). The legs were attached through pegged mortice and tenon joinery to a beach board that was attached to a second beech board. The two beech boards were attached at the ends using what is called a knuckle joint, which is a hinging joint. The beech board tenoned into the leg was free to swing while the other board was screwed and glued to the pine board in the frame. This allowed one leg to swing open like a gate (hence the term "gate leg") and support the leaf when it was raised. While the joinery was succinct and well executed on this table, over the years glue had failed causing the legs to function improperly. The table was dismantled so that these joints could be cleaned and glued. The photo below shows the internal frame described above with the gate legs removed. The frame is being glued in photo below.

After the glue had set, the clamps were removed. In the photo below, the frame is seen with the pine side facing. the right side of that board is the area that the beech gate assembly was attached to. To the far right you can see the half blind dovetails discussed above.
The frame is seen here with the legs and gate assembly surrounding it. The lighter areas are where the pieces would be attached.
The top was removed for all of this repair work, and the hinges were removed from the top. All of the screw holes were plugged and re-drilled during this time so that the hinges would seat properly and function flawlessly. The plugged screw holes can be seen in the photos below.
Before attaching the gate assemblies, there was a rather large portion of the pine that needed to be patched. The next few photos show the process of attaching the new wood.
The patch after the glue had set. It was later planed down flush with the surface of the pine and stained to match.
Once the patch was in place, the old glue was cleaned from all fo the surfaces and the gate assemblies were attached to either side of the frame using traditional hide glue, The same glue that was on the table to begin with.
One hinge mortice was missing a large section of wood and needed a patch. The patch is seen below in place. The following photos show it drilled to receive the hinge and then stained to match the color of the original wood.
As discussed above, the legs were pretty beaten up. They were lightly sanded to remove the majority of the damage and then new finish was applied. The original finish was still in the pore of the wood, which aided in rejuvenating this finish and retaining the original color. The photo below shows the legs sanded.
A very small amount of color was added to the top surface to even out the overall color. The bleached look was retained as seen in the photos below.
The top during the restoration of the finish.
I mentioned the bleached color of the top above in part because in the photos of the completed table below, the top (and the table in general) look very dark. This is due to the brightness of the daylight that particular day. At any rate, the table looked great restored as seen in the photos below.


No comments:
Post a Comment