I received an English sofa from the Queen Anne period recently that needed to have the joinery repaired and the wood work restored. The upholstery was in pretty good shape so no reupholstering was required. The Queen Anne period of furniture design lasted in England from around 1700-1725. The primary wood of choice for this period was Walnut with Oak being used as a secondary wood. The true end of the Queen Anne period in England came with the lifting of import taxes for Mahogany in 1733 which ushered in the use of Mahogany for the next 100 years.
When trying to date this sofa I found a nice comparable in a German book on English furniture entitled MOBEL UND RAUMKUNST IN ENGLAND VON 1680-1800. below is the photo of the settee in this case with the date of 1705 being attached to the piece.
.jpg)
.jpg) There is certainly a range of time this sofa could have been made, but looking at the construction details of the Sofa compared to the Settee, I think they are pretty close in age. The only ornamental detail missing in the settee is the Cockle or Scallop shell which adorns the knees of the Cabriole legs of the Sofa. This ornamentation found it's first use in the Queen Anne period and was in use during the entire period. In fact, the shell carving on the knee is a key attribute to Queen Anne seating furniture.
There is certainly a range of time this sofa could have been made, but looking at the construction details of the Sofa compared to the Settee, I think they are pretty close in age. The only ornamental detail missing in the settee is the Cockle or Scallop shell which adorns the knees of the Cabriole legs of the Sofa. This ornamentation found it's first use in the Queen Anne period and was in use during the entire period. In fact, the shell carving on the knee is a key attribute to Queen Anne seating furniture.One other design note is the use of the two rolls connected by a sweeping curve for the arms which made it's debut in the William and Mary period and continued on into Queen Anne. below is a photo detailing the arm.
 Here is a photo of the Cabriole leg with the Cockle or Scallop shell carving on the knee.
 I was asked to repair and install a broken stretcher that was broken during a move but as is usually the case found a lot more damage once I started to look into the piece. The sofa has been repaired several times throughout years and over all, all of the joinery on the bottom of the sofa had become loose and needed to be re glued. Below are some photos of he repair followed by the restoration of the finish.
A fracture in one of the back legs that came apart during the repair.
 One of the legs removed from the sofa with the loosened returns sitting beside it.
 All of the joinery on this leg had been repaired, but had come loose again.
 Some broken joinery that was repaired with dowels.
 The broken stretcher was repaired by drilling a dowel through the broken section and the stretcher and inserting an oak dowel. Oak is used throughout the piece and I feel like it is a stronger wood for the joinery, so I used it.
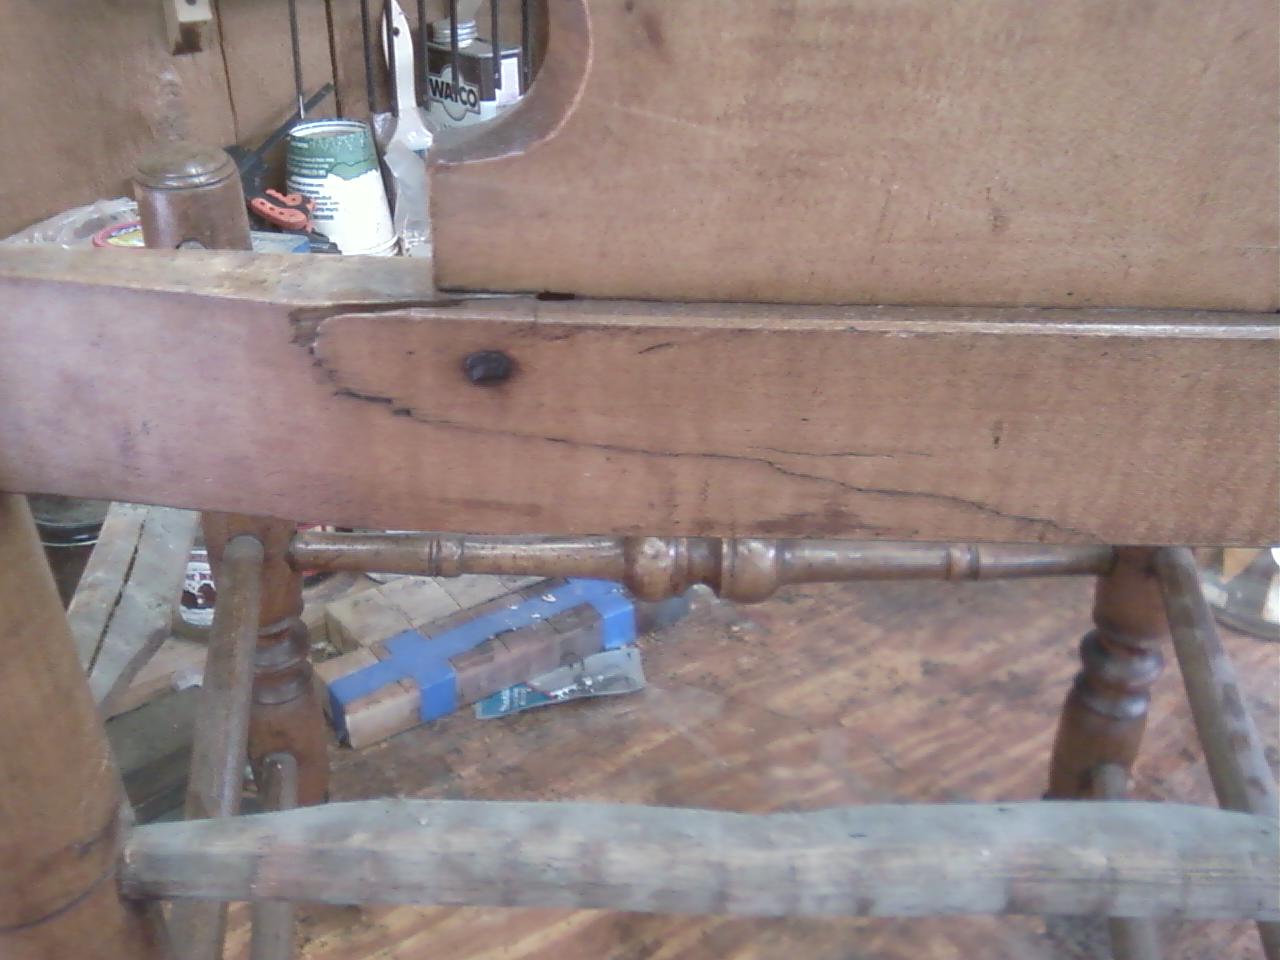
 When I saw this, I thought that maybe I was looking at a really good fake! the lines running horizontally on the back side of this leg were created by a Band Saw which was not used in furniture making until the 19th Century. What this actually is is a patch on the back side of this leg.
 The color difference in the wood on the bottom half of the photo is the new Walnut that was glued to the old to make the repair above.
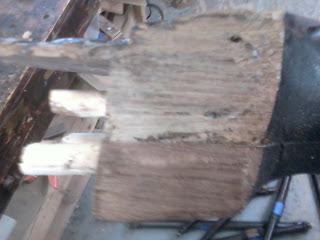 Here is a photo of the legs and stretchers removed from the sofa. Once the glue was cleaned off, the sofa was put back together.
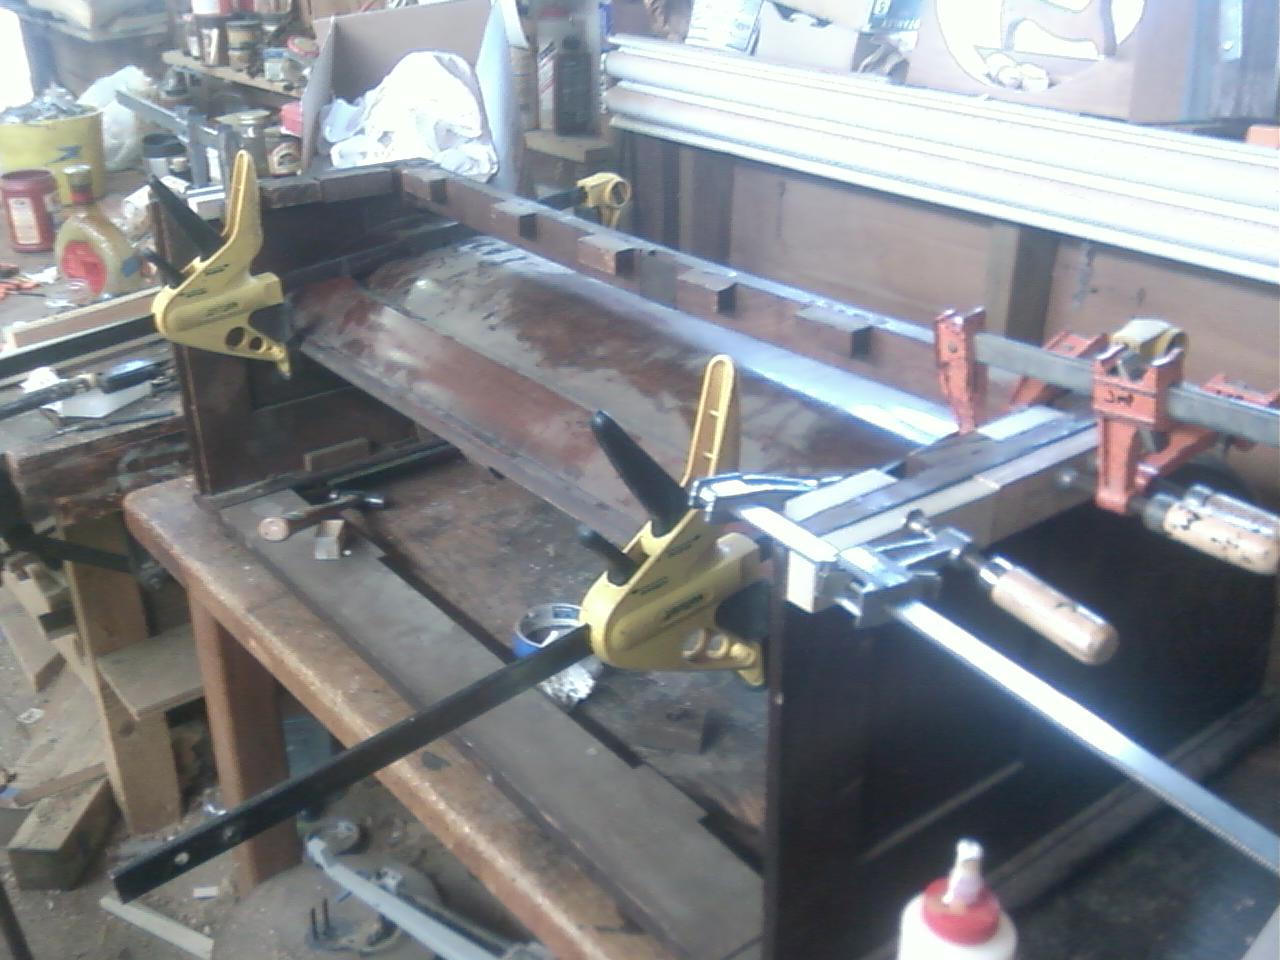
 Here is a photo of the sofa being glued up using band clamps and pipe clamps.
 A detail of the gluing shows the return blocks being attached to the leg in this photo
 The last three photos show the restoration of the finish. The upholstery has been taped off with blue masking tape to protect it from finish. I will post photos of the completed sofa in my next entry.

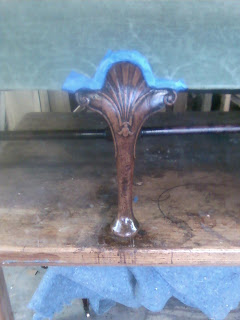

 Here is a photo of the Cabriole leg with the Cockle or Scallop shell carving on the knee.
 I was asked to repair and install a broken stretcher that was broken during a move but as is usually the case found a lot more damage once I started to look into the piece. The sofa has been repaired several times throughout years and over all, all of the joinery on the bottom of the sofa had become loose and needed to be re glued. Below are some photos of he repair followed by the restoration of the finish.
A fracture in one of the back legs that came apart during the repair.
 One of the legs removed from the sofa with the loosened returns sitting beside it.
 All of the joinery on this leg had been repaired, but had come loose again.
 Some broken joinery that was repaired with dowels.
 The broken stretcher was repaired by drilling a dowel through the broken section and the stretcher and inserting an oak dowel. Oak is used throughout the piece and I feel like it is a stronger wood for the joinery, so I used it.
 When I saw this, I thought that maybe I was looking at a really good fake! the lines running horizontally on the back side of this leg were created by a Band Saw which was not used in furniture making until the 19th Century. What this actually is is a patch on the back side of this leg.The color difference in the wood on the bottom half of the photo is the new Walnut that was glued to the old to make the repair above.
 Here is a photo of the legs and stretchers removed from the sofa. Once the glue was cleaned off, the sofa was put back together.
 Here is a photo of the sofa being glued up using band clamps and pipe clamps.
 A detail of the gluing shows the return blocks being attached to the leg in this photo
 The last three photos show the restoration of the finish. The upholstery has been taped off with blue masking tape to protect it from finish. I will post photos of the completed sofa in my next entry.