Welcome to my blog which follows my furniture restoration business. Please feel free to comment at the bottom of the post, and if you would like a response please leave your email address. you can also contact me directly at info@johnmarkpower.com. And by all means, if you like something please feel free to share it.
Showing posts with label Furniture History. Show all posts

Wednesday, March 4, 2015

Pennsylvania Chippendale Tall Chest ( ca.1790)

 
The Completed Chest

I recently got an interesting piece into the shop. I really did not do that much to it, but I thought it had a lot of different points of interest that were worth sharing. The piece is what is referred to as a tall chest and was probably made in Pennsylvania in the last quarter of the 18th century. Chests like these were made in that region at this time and several characteristics led me to recognize it as a Pennsylvania piece. 

The chest consisted of three short drawers at the top. Below was a set of two short drawers. Below these were four long drawers. All of the drawer fronts graduated nicely and consistently from top to bottom. I make note of the drawer configuration because it is seen in other contemporary tall chests from Pennsylvania. Walnut was used as the primary wood and Oak and pine were used as secondary woods. There was the presence of Poplar in one drawer and in the back, but I feel that in both instances the wood was used in a repair setting and was not original to the piece. Poplar is not unheard of in Pennsylvania furniture, but the other two woods are often seen as secondary wood choices.

This piece has seen several alterations in its day. The feet would have originally been ogee bracket feet and evidence of the original feet was found on the piece. At some point these feet were replaced with taller cabriole legs that are more consistent with a high boy. These feet are not original, but were hand made and at some point attached to the chest. I suspect that the crown and base molding were also replaced at some point as well.

The other alteration to the piece was that at one point it was cut in half and reassembled. The cut must have been made poorly because there was a patch on either side of the case running front to back which was about 2 inches wide. I thought the case had been altered at some point or assembled from two pieces, but in the end, I think it was cut in half to get it in a room and reassembled in place. This was not uncommon as these pieces came down through generations and moved from house to house. Here is a link to an appraisal of a Pennsylvania tall chest on Antiques Roadshow that had a similar procedure done to it:


Below is a photo of the chest that I took when it entered my shop.

One of the things I was hired to do was to clean  the existing finish. To do this I needed to remove the hardware. I knew by looking at the piece that the hardware was not original. this was confirmed when it was removed.

Below is a photo of an escutcheon hole. The original escutcheon is seen inset in the drawer front. Around it is the shadow of a Chippendale style escutcheon plate that was on the piece.

When I removes the pulls I saw this ring around the post holes. This would have been made by the back plate for a rosette pull, which may have been the original pull on the piece.
One of the most interesting features of this chest was the presence of intact "Quaker" or "Spring" locks. Quaker locks were used in lieu of mechanical locks on the upper short drawers. The way that a Quaker lock works is that there is an access hole in the dust cover below the drawer that has the lock, large enough to put your finger in. One of  these holes in shown in the photo below.
Directly above the hole is a board nailed into a inclined recess on the drawer bottom. The board is flexible and can be pushed up. When it is in place, the end grain of the board pushes against the back side of the drawer divider, preventing the drawer from opening. when a finger pushes the board up towards the underside of the drawer bottom, the end grain of the board clears the drawer stretcher and the drawer opens. Basically, to open the drawer above, you need to access it by opening the drawer below. In theory, one could put one mechanical half mortice lock on the bottom drawer of a chest and lock the rest of the piece with Quaker locks. In this instance, the short drawers were locked with Quaker locks, while the four long drawers had mechanical locks.

Back in the day, The ability to lock your furniture was important, and often the only way of securing the contents. Mechanical locks were expensive and also a commodity that needed to be bought in a city center. These Quaker locks were and affordable and easy to manufacture lock that in this case saved the expense of five locks. Below are a few photos of the Quaker lock on the underside of one of the drawer bottoms.

The chest had sustained water damage on one side. The finish was not original to the piece so I removed it and replaced it with a new finish. Below are some photos of the water damage. It is seen as the light streak going down the case side. This was where the finish had peeled off of the case entirely.

As stated above, the case had been cut in two at some point. It was later patched as seen in the photos below.

To remove the finish from the side I taped off the molding as seen below.
I then removed the finish and sanded the surface lightly to remove any finish residue.
This next photo shows the case side with a few coats of shellac on it. It took several coats to match the sheen of the rest of the case.

Three of the four replaced feet were loose and needed to be tightened. The feet were attached to a board running front to back on either side of the case bottom. They were attached with beautiful dovetails that I cleaned and reglued in place. because the joinery was tight, I put the piece on its feet and let the weight of the case work as a clamp as the new glue set. Below are a few photos of the legs removed from the case.


One of the nicest discoveries about this piece was the presence of a signature. It was boldly (and largely) written on the back of one of the long drawers in chalk. after looking at it for some time I believe it said "Tho. V Downing", although I believe the V was not meant to be part of the signature. The last name of Downing was the clearest part of the signature. The first name was a lot less clear. here are a few photos of the signature followed by a cropped photo that I manipulated and reversed to try to get the signature clearer.


In addition to the signature, there was a lot of math written out on the interior face of a back board. Pencil and Paper was a precious commodity in the 18th century. It was far cheaper to write on what was at hand.I find myself writing notes on scrap pieces of wood all of the time. While none of the math was legible, there was quite a bit of it. either it was the equations that worked out the dimensions of the chest, or maybe it was some accounting work! Whatever the reason was, it is always nice to see these kinds of things on a piece, as they give a small glimpse into the mind of the maker.

After the piece was cleaned and the one side brought up to speed with the rest of the case I polished and waxed the case and drawer fronts. I also waxed the interior runners so that the drawers would work smoothly. After that, the hardware was put back on but left unpolished and the chest was ready to take back to the customer.

Even with all of the alterations that took place over the years, this is a stunning piece of American craftsmanship and I was happy to be able to restore Mr. Downing's fine tall chest.

Thursday, February 19, 2015

National Oak Roll Top Desk (1917)

The Completed desk
One of our recent restoration projects was an oak roll top desk made in 1917 by National Desks. Presumably, this is the same company as the National Furniture Company of Mt. Airy, N.C. I found no reference to a National Desk Company but when I researched National Furniture Company Roll Top Desks I found several examples of similar roll top desks. In each case the general design was identical but the details like the hardware and the arrangement of the cubbies were different. Without being exactly sure of the manufacturer, I am certain of the date of manufacture and the subsequent retailer. 

The desk was labeled in different places in different ways. The most prominent label is a plate on the interior one of the drawers. The label said Clark & Gibby, NY. At first I thought that this was the manufacturer but we later found stamped on the top of a drawer front "National Desks" as seen below:

I believe that National Desks, or more likely the National Furniture Company, was the manufacturer and Clark and Gibby was the retailer. After removing the interior cubbies to make repairs, we found this label:

The label shows the style and model number,indicating that a specific model had options that would be contained in a particular style. Also in the lower left hand corner is a completion date of 1917. This would have been used in the manufacturing process and not meant to be seen by the public, but it is always nice to find something like this because it pinpoints a date.

The roll top desk as a form developed in the second half of the 19th century. It's immediate predecessor was the cylinder desk which worked the same way but had a solid quarter cylinder for a lid. Here is a photo of one of these I restored and the links to those posts concerning its restoration:


As you can see, the"cylinder" part was solid and veneered with walnut. The roll top desk differed in that the lid was comprised of many half round slats adhered to a sheet of canvas. These slats would move in a a track in a similar fashion as the solid lid, but because they were separate, this made them more flexible. This allowed desk lids to take shapes or follow tracks that did not move in a fixed arc. What followed were lids with ogee profiles (probably the most famous) like this one:


 As the from developed there were a lot of designs, but in the beginning of the 20th century, a larger desk came on the market with a roll top that followed a single curve. At the time, it was labeled a modern roll top desk. The desk I worked on falls into this category. Below are a few photos from around 1917 showing the large "modern" roll top desk in use:


The desk had a lot of wear and tear and also many mechanical issues. The finish was in a restorable condition so we concentrated first on the repairs. 

The veneer along the sides had loosened and then chipped away over time leaving this:


New oak veneer patches were cut to patch the missing portions as seen below:


The case was generally loose and needed to be tightened. That process can be seen in the next photo. Besides that here was lost of "nuts and bolts" repairs, like replacing missing stop blocks, building up drawer bottoms, stabilizing interior runners, etc.


After all of the repairs were made, the finish was cleaned and restored using shellac. The finish was faded in several places so stained the desk selectively, as well as touching up the patches. I also made keys for the locks and generally made sure everything was working well. The completed roll top desk can be seen in the photos below.


Saturday, February 7, 2015

X- Frame, or Campeche Chair (ca.1820)


The completed Chair
Strictly speaking, this is not a Campeche chair. The Campeche chair is a type of chair popular in the plantations of the south and was made in Mexico and in the southern United States in the 18th and early 19th century. The name comes from Campeche, Mexico, a state bordering Yucatan in southeast Mexico. The form is believed to have originated there.

While these chairs were being made there, Europe saw the emergence of what the English refer to as a X-Frame Chair. This name comes from the X shaped base of the chair that can be seen from the side. The X-frame design is a twist on The Curule chair, an form first seen in Ancient Rome and later to reemerge as part of the neoclassical period of European furniture history. In the Curule chair, the X-Frame that makes its design is seen from the front of the chair.

The design for the X-Frame chair is so similar to it's Central American cousin, that all of these chairs are commonly referred to as Campeche chairs. What ever you want to call it, this chair is very rare and of all of the examples I looked at in researching this post, it is the finest.

The primary wood used in the frame is West Indies mahogany (see my last post) and the entire frame is inlayed with sand-shaded satinwood. The curvilinear design is very much in keeping with the neoclassical ascetic (for comparison, see my last post) and the workmanship throughout was outstanding.

The joinery on one of the legs as well as one of the arms had loosened and I cleaned and glued the joinery in my shop. Other then that, I cleaned and waxed the existing finish on the chair. Because of the work done on the chair, I chose not to photograph the repairs, but chose to focus instead on the completed photos. This is quite a rare chair and I wonder if I will ever see another like it come through my shop!


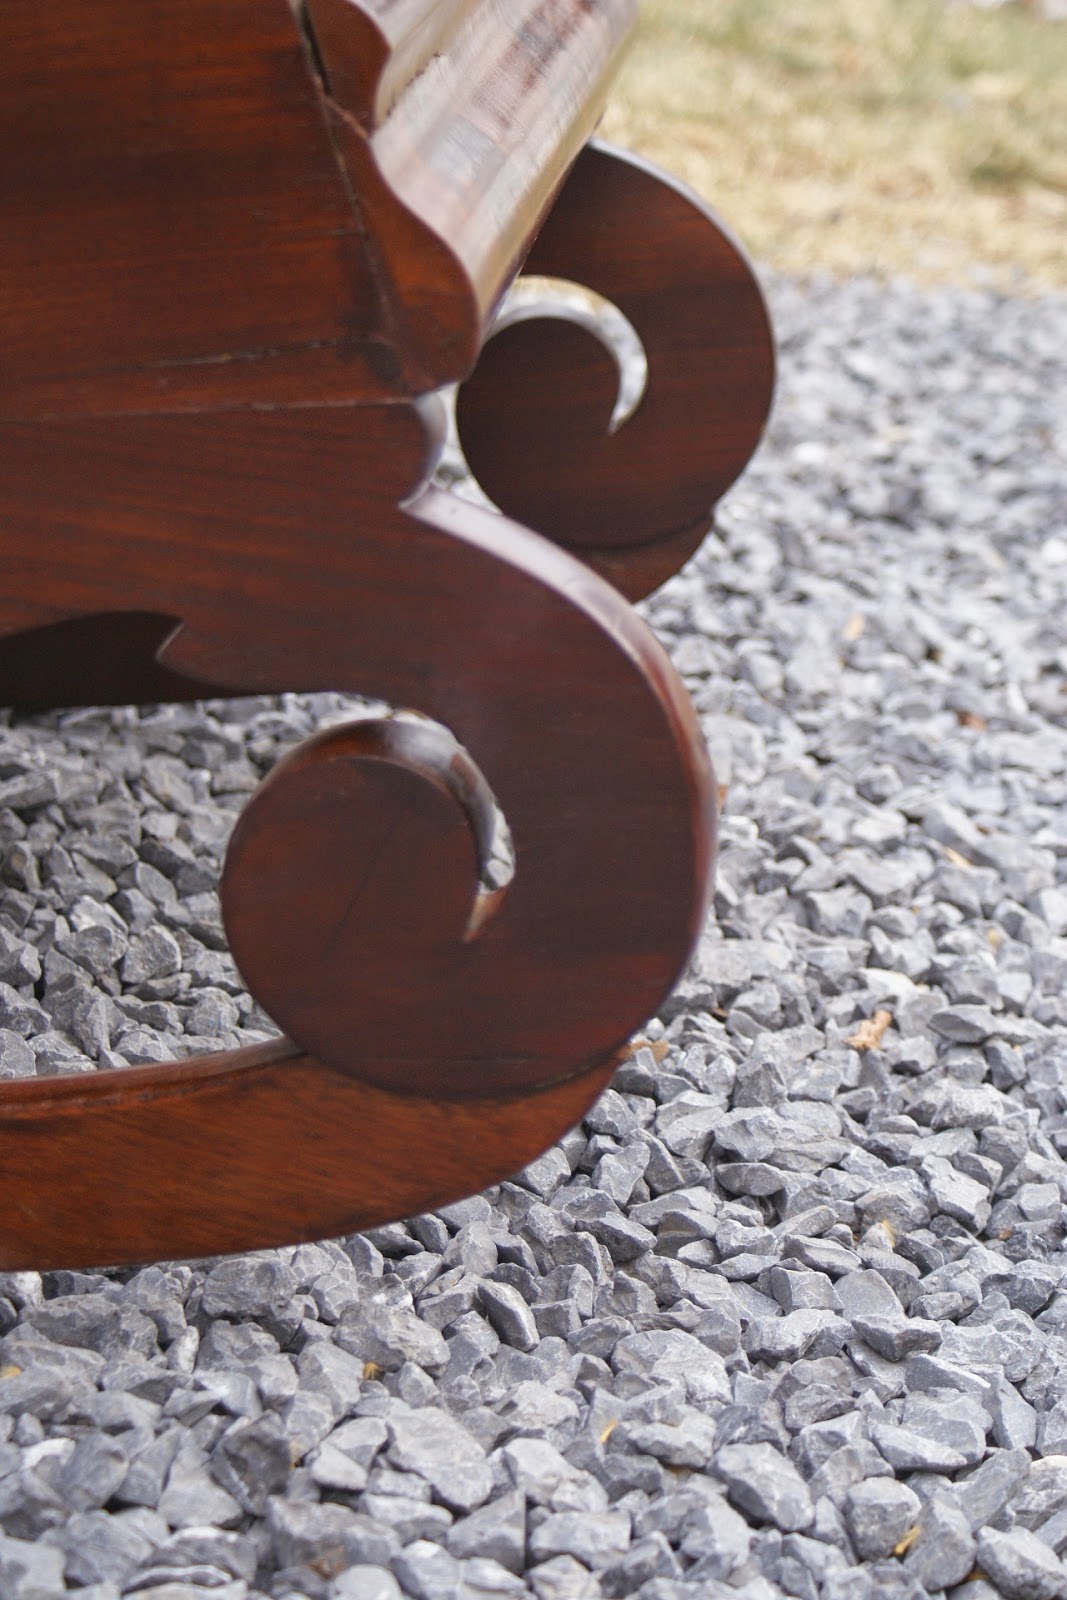
Late Classical Mahogany Rocker (ca.1840)

The Completed Rocker
What is good mahogany? What do people mean when they say "This is good mahogany, or that piece has fine mahogany in it"?

The answer  to these questions could fill up a book, in fact it did. Mahogany: The Costs of Luxury in Early America by Jennifer L. Anderson traces the United States love of this wood through the 18th century and well into the 19th. It is a comprehensive look at how we used and abused this wood to the point where it is in some cases in a state of commercial extinction. If you have any interest in the subject, I highly recommend this book.

In and attempt to answer the question a little more quickly, The two main types of mahogany used in the production of fine furniture are Honduran Mahogany (swietenia macrophylla) and West Indies Mahogany (swietenia mahogani) Both are fine woods and can be polished to a nice shine, but latter is what people refer to as good mahogany.
Swietenia Mahogani is found throughout the Caribbean region and when originally harvested, differences in the micro climates where the timbers grew gave the wood different characteristics, giving rise to many different names, including Haitian mahogany, Cuban mahogany, Santo Domingo mahogany, Jamaican mahogany etc. While all of these woods had different characteristics they were all swietenia mahogani. Distinguishing what wood came from where these days is difficult so the name of West Indies mahogany has been adopted when referring to swietenia mahogani.

 Swietenia macrophylla, or Honduran Mahogany is found in a much larger geographical area including much of Central America. The trees are bigger and produce quality lumber that is still being produced today. 

In the 18th and 19th century, it was common for cabinetmakers to use both woods in a single piece of furniture, usually reserving the West Indies mahogany for the showier places like drawer fronts, while the sides of a case for a chest of drawers might be made of Honduran Mahogany. Each piece of furniture was different, but when it was available, West Indies mahogany was generally preferred.

Today, Honduran Mahogany is the only true mahogany commercially available. The only West Indies mahogany available is old stock or pieces reclaimed from furniture and architectural pieces. When possible, I use reclaimed West Indies mahogany to make repairs, but when the repairs are substantial, I use Honduran and apply stain and touch up to blend the repairs into the existing wood.

In the case of the rocking chair, the majority of the chair was made from exquisite West Indies mahogany. One of the rockers was broken and in need of repair, involving the use of bridging patches to span a very broken component. 

In order to make room for the patch, I need to remove some of the wood around the broken area. I used a router to do this. Even though it is a small amount of wood, I always lament the fact that I am pulverizing a wood that is no longer available. I try to keep these repairs to a minimum and only do what is necessary.

When I routed the wood, I was left with a pile of shavings of West Indies mahogany. Below is a photo of those shavings next to a piece of Honduran mahogany used for patching.

The first thing to notice is the color difference, The West Indies mahogany being a rich dark color, while the natural Honduran mahogany is much lighter. If the shavings were one piece of wood, you would also see that the grain is much, much tighter and the wood resembles cherry more than Honduran mahogany in some cases. The result is a wood with unbelievable natural color and and compact grain which lends itself to a high polish.

Below is a photo of the completed repair I spoke of above. You can clearly see the color difference here.
As far as the rocker is concerned, Once the repairs were made I cleaned the existing finish and polished it with Dewaxed Shellac. It did not take many coats to bring the finish to a high polish. All of the repairs were touched up and the chair was eventually waxed. The result of the restoration showed off the beauty of this wood. No stain was used on the rocker originally  and the only staining I did was to blend in the areas I touched up, as seen in the photo below of the same repaired area.

Below are a few photos of the the restored finish. The embroidered upholstery was old but not original. This piece is a stunning example of  a late classical rocker made probably in a city center like New York or Philadelphia. To me, the most stunning aspect was the fine mahogany used to execute the design of this chair. A most remarkable wood the likes of which we will never see again!